Get More Testimonials For Your Website
How to get testimonials for your website with Vocalreferences
Step 1 - Create an Account with VocalReferences
There is no charge or committment for creating an account. Simply go to our Create an Account page and create an Account. You can also login with your Google, Facebook or Square account.
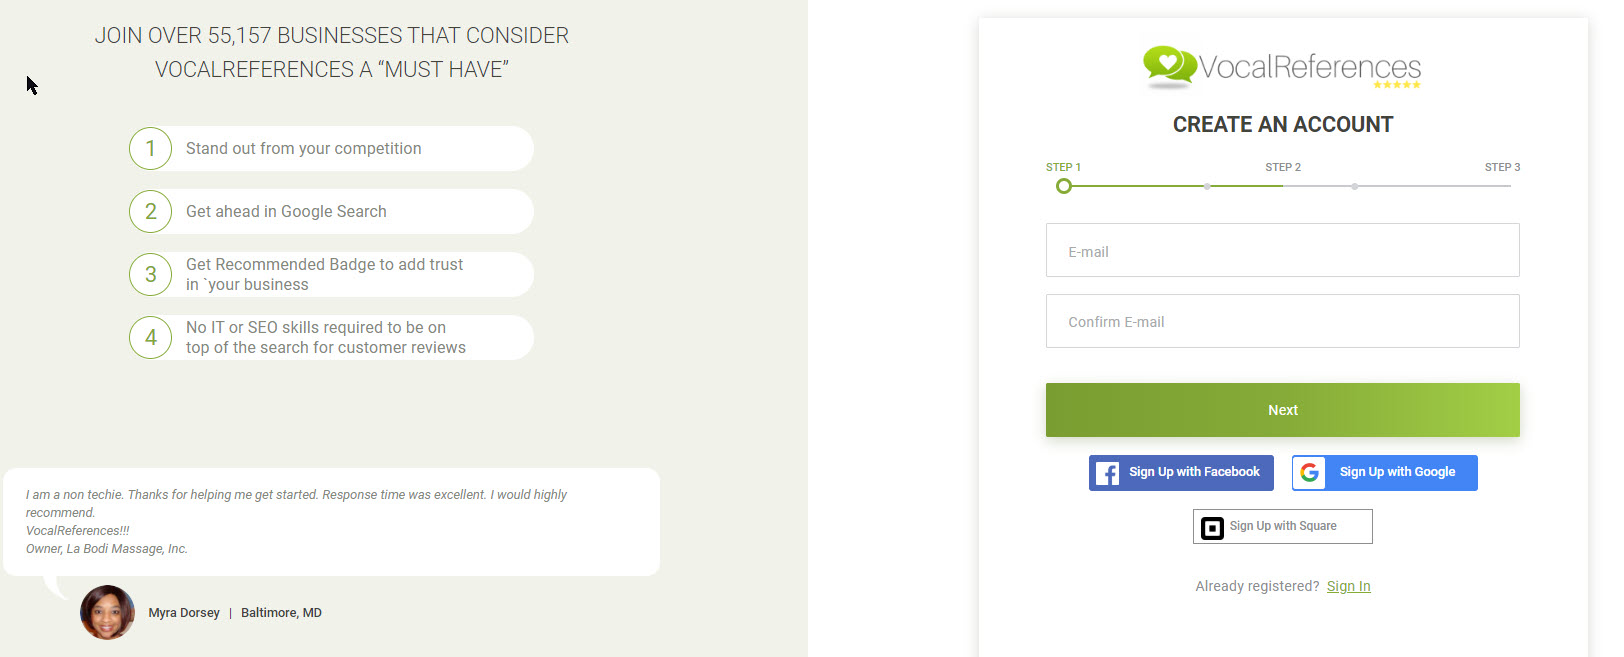
This account will allow you to import, collect and display testimonials on your site.
Step 2 - Collect Testimonials
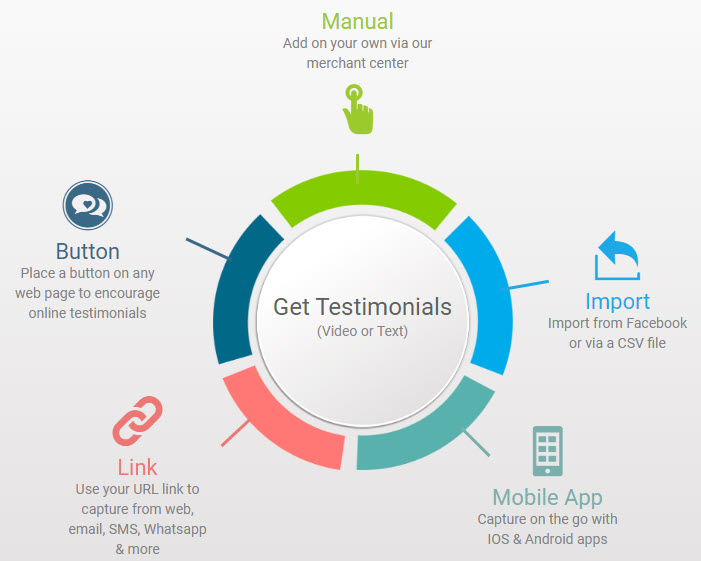
We give you all the tools you will need to collect testimonials from your customers. It starts with your very own capture link. This link is created automatically when you create your account.
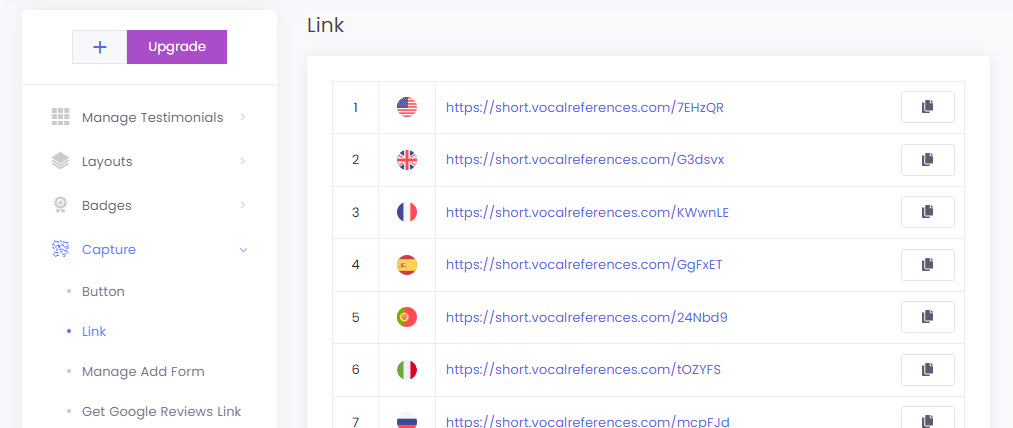
You can use this link as is and embed it in emails or any other electronic document. You can also embed it in a button or link in your website.
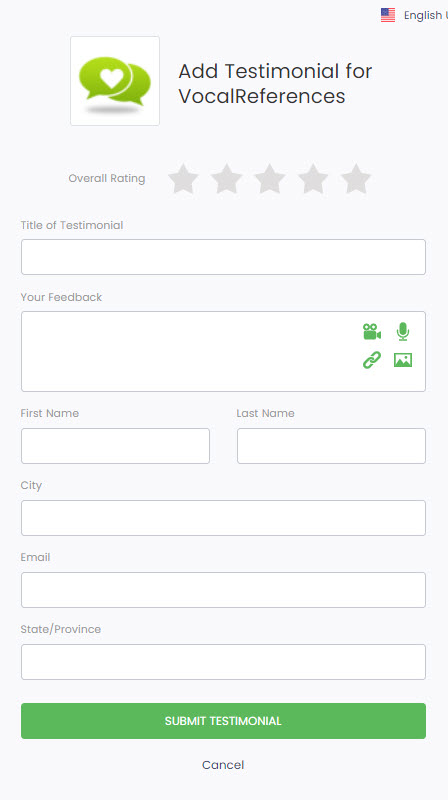
When users click on this link it will take them to a form with your business name. The form allows them to record a text, audio or video testimonial. This form works out of the box in desktops, mobiles or tablets.
When they save the testimonial, we will send you an email notifying you of the new testimonial.
You can then review the testimonial, and when your satisfied, you will click Accept to have it appear publicly.
Step 3 - Display Testimonials
Displaying testimonials involves adding a small bit of code to your website. In most modern website platforms, they allow you to add html or javascript code to your page. Select the page where you wish to display your testimonials. Click on Add HTML code and in the box, paste the code. Hit Save. After saving the testimonial display should appear on the page.
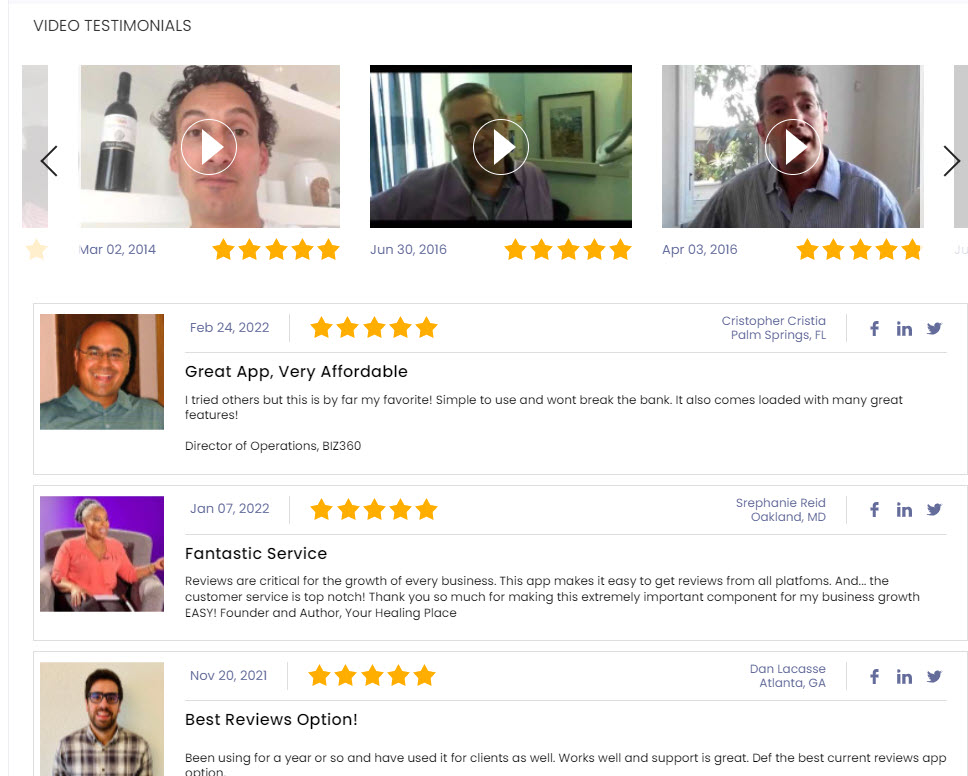
We have a number of different display types that you can use. They are grouped as Page Layouts where you can display multiple testimonials on a page. The user has the ability to scroll through the testimonials on a mobile device or you can setup paging which allows the user to page through your testimonials.
Single Layouts are used to display one testimonial at a time. There are options to have the display automatically shift to the next review or shift based on a click from the viewer.

We also have a band layout, which displays multiple testimonials in a band format as well as Edge displays which will hide at the side of the page, until the user clicks on the tab.
All the layouts are customizable with colors and fonts so you can make it fit into any web page environment.
Step 4 - Complete Your Business Profile - Good For Traffic and SEO
We use your business information to build a unique URL which contains your keywords and business name. The unique URL points to a Showcase Page of your testimonials. If you decided to upgrade your account then we submit this page with the unique URL to Google. This url will drive traffic to your site when people search for your business and keywords.
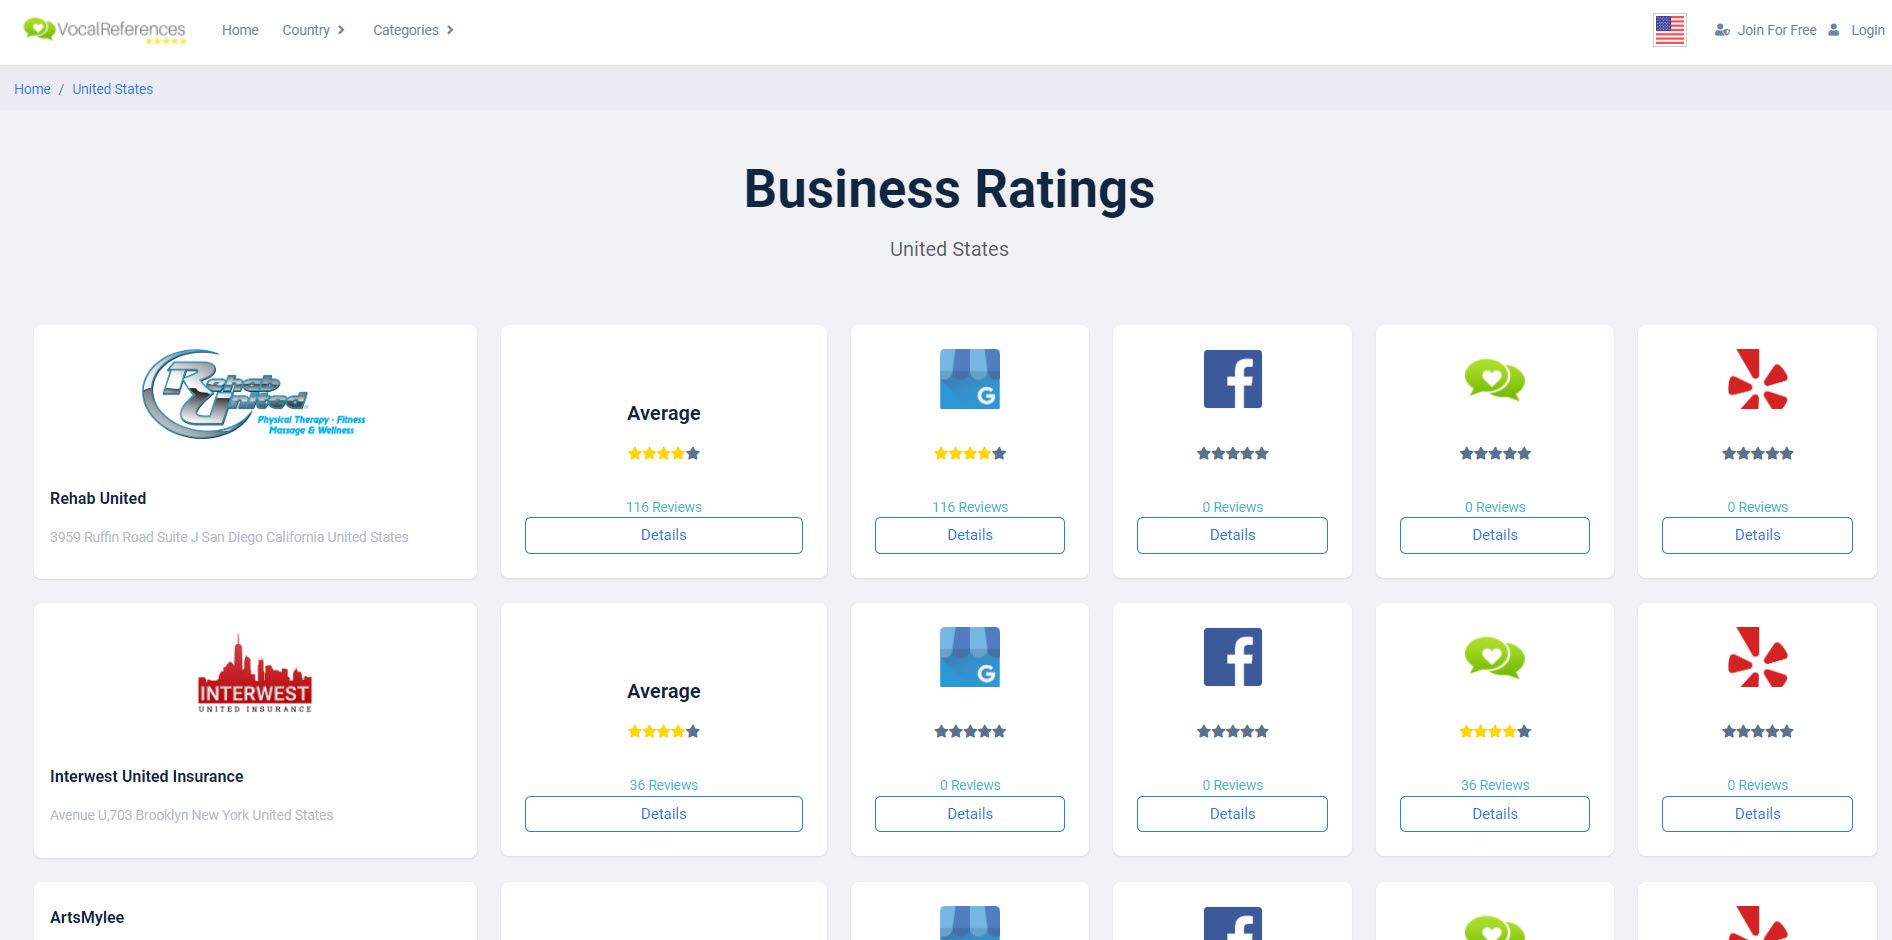
In addition we submit your business information to our Business Ratings Directory Business Directory of Best Businesses. This directory lists all of our users in a very easy to use searchable format.
This directory is also indexed by Google to give you an additional traffic source. If you connect your account with your Social Ratings account like Google and Facebook, we will combine your social ratings into the business directory so that visitors will be able to see your internet reputation.
Step 5 - Badges to Enhance Your Brand

We offer a number of badges which you can use to highlight your business reputation. These badges work similarly to our layouts. You copy and paste code from our site to yours.
We supply you with a Recommended Merchant badge whose colors change from Bronze, Silver and Gold as you add more reviews.
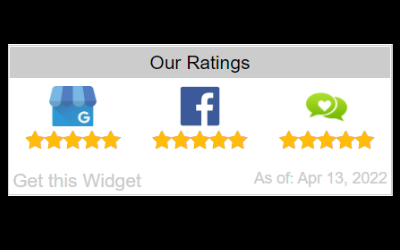
A Social Ratings Badge, which summarizes the results of your social ratings and
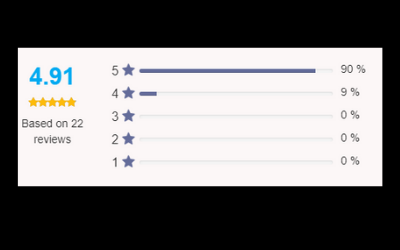
A Reviews Summary Badge which summarizes your testimonials based on the number of stars that your customers rated you.