Introduction
The A+ Testimonial App by Vocalreferences is a powerful WordPress plugin that allows businesses to showcase customer testimonials in an engaging and visually appealing way. This guide covers everything from installation to customization, providing a step-by-step approach to help you maximize the potential of this plugin.
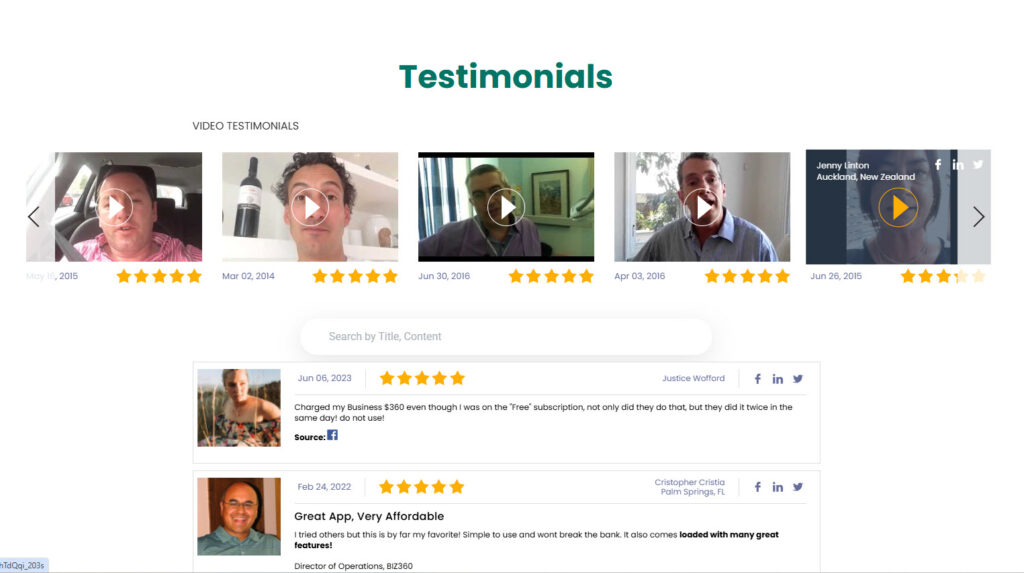
Table of Contents
- 1. Installing the A+ Testimonial App
- 2. Setting Up the Plugin
- 3. Adding Testimonials
- 4. Customizing Display Settings
- 5. Using Shortcodes
- 6. Managing Testimonials
- 7. Styling and Customization
- 8. Troubleshooting Common Issues
- 9. Best Practices for Showcasing Testimonials
- 10. How to Get More Testimonials
1. Installing the A+ Testimonial App
Step 1: Access WordPress Plugin Directory
-
- Log in to your WordPress dashboard.
- Navigate to Plugins > Add New.
- Search for “Vocalreferences” in the search bar, as seen below.
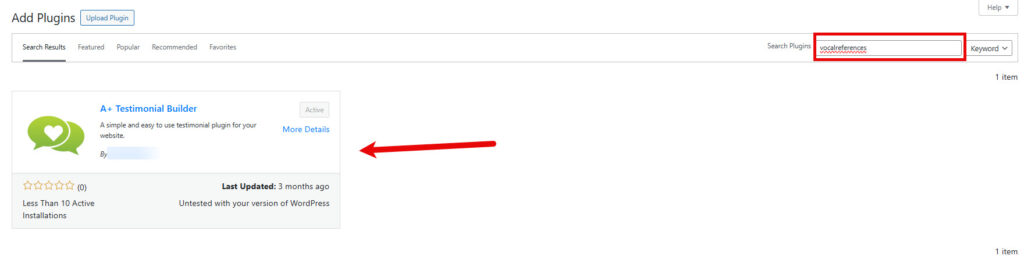
Step 2: Install and Activate
-
- Click “Install Now” next to the plugin.
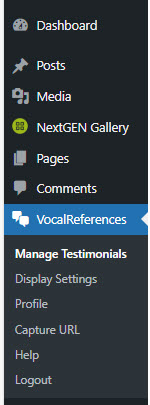
- After installation, click “Activate” to enable the plugin. Once the plugin is activated you will see the Vocalreferences menu added, as seen below.
2. Setting Up the Plugin
Step 1: Access Plugin Settings
- Go to Vocalreferences in the WordPress admin panel.
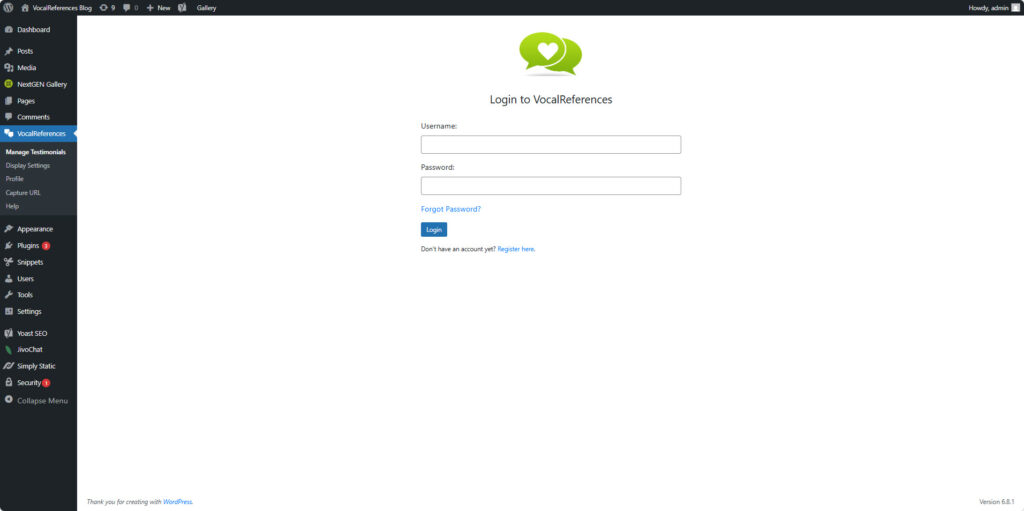
- Click on Manage Testimonials. If you have a Vocalreferences account login. If you don’t have an account, create one now. You can now use the Vocalreferences app
Step 2: Add Display to Your Web Page
- Go to Vocalreferences in the WordPress admin panel.
- Click on Display Settings
- Select a display layout by clicking on one of the icons
- Make any customizations to the display via the options
- Click “Preview” to preview your changes
- Click “Publish” to apply the changes to your layout choice
- Copy the short code to the web page you wish to display testimonials
3. Adding Testimonials
Step 1: Navigate to Add New Testimonial
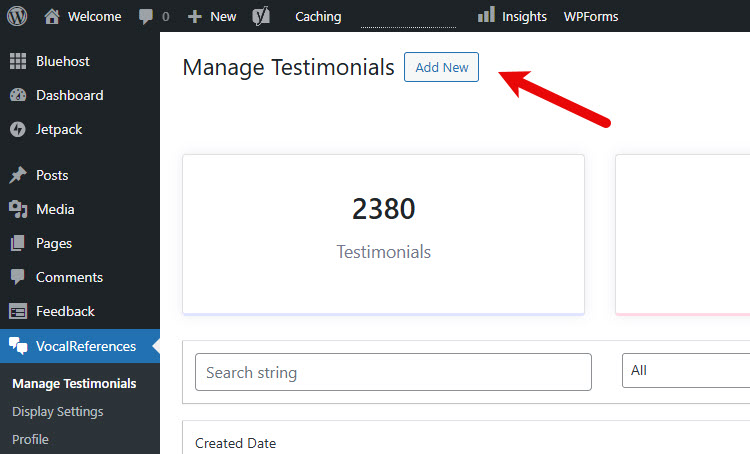
- In the WordPress dashboard, go to Vocalreferences > Manage Testimonials.
- Click on Add
- Enter the information in the add testimonial form.
- Click Save to save the testimonial
Step 2: Enter Testimonial Details
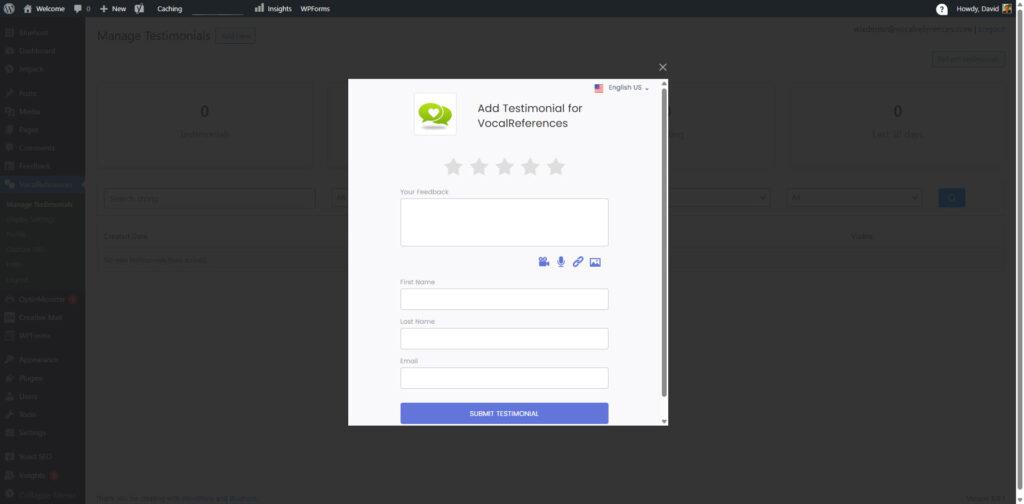
- Star Rating
- Testimonial Title
- Testimonial Text
- Photo (optional). Click on the image icon to add a photo or image
- Customer Name
- Customer email
Step 3: Publish the Testimonial
- Click “Submit testimonial” to save the testimonial.
- If you have added a display to your web page the testimonial will appear on your web page.
- You can further edit the testimonial in the Manage Testimonials section.
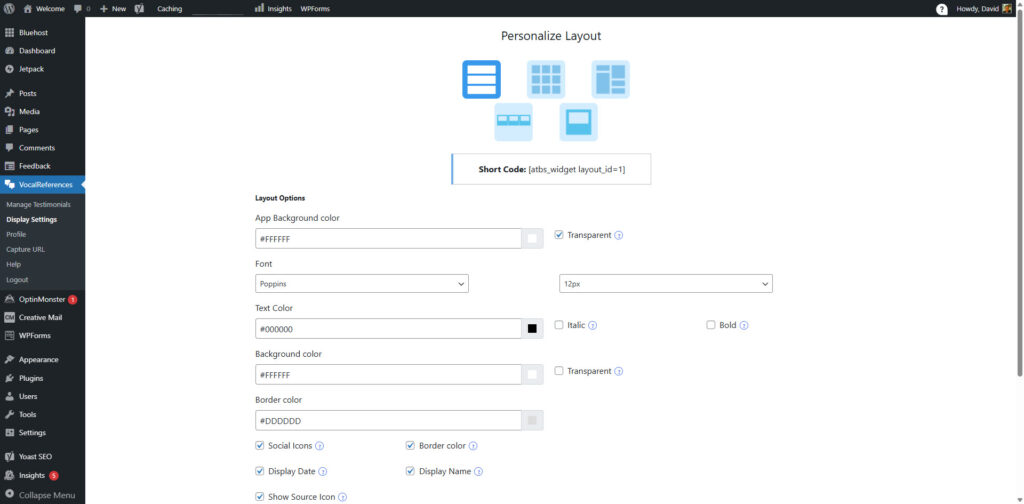
4. Customizing Display Settings
- Access Display Settings
- Navigate to Vocalreferences > Display Settings.
- Select from different layouts such as horizon, matrix, or single testimonial display.
- Adjust Appearance
- Customize fonts, colors, and spacing.
- Add borders and shadows for a professional look.
5. Using Shortcodes
Shortcodes allow you to place testimonials anywhere on your site.
Example Shortcodes
-
-
- [atbs_widget layout_id=1] – Displays your testimonials in a horizon layout.
- [atbs_widget layout_id=2] – Displays your testimonials in a matrix layout.
- [atbs_widget layout_id=3] – Displays testimonials in a masonry layout.
- [atbs_widget layout_id=4] – Displays testimonials in a single slider layout.
- [atbs_widget layout_id=5] – Displays testimonials in three testimonial slider layout.
-
6. Managing Testimonials
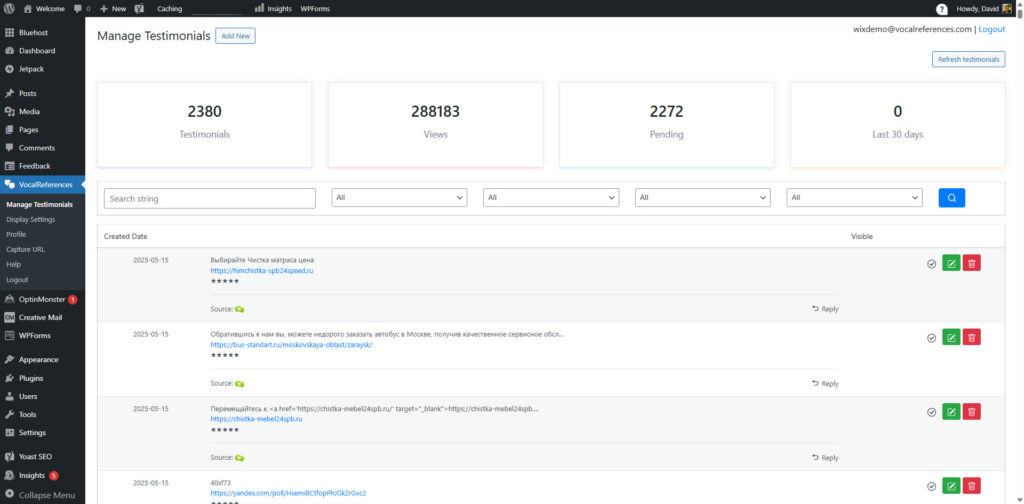
You can edit testimonials via Vocalreferences > Manage Testimonials. Use the bulk actions feature to delete or update multiple testimonials at once. Organize testimonials into categories and tags.
7. Styling and Customization
For advanced users, custom CSS can be added under Appearance > Customize > Additional CSS.
.a-plus-testimonial {
font-size: 16px;
background-color: #f4f4f4;
padding: 20px;
}
8. Troubleshooting Common Issues
Issue: Testimonials Not Showing
Ensure the correct shortcode is used.
Verify that testimonials are published and not in draft mode.
Check display settings under Testimonials > Settings > Display.
Issue: Styling Problems
Clear the site cache.
Inspect CSS conflicts with other themes.
9. Best Practices for Showcasing Testimonials
-
-
- Use High-Quality Images – If including customer photos, ensure they are clear.
- Highlight Key Messages – Keep testimonials concise and impactful.
- Regularly Update Testimonials – Remove outdated ones and add new ones.
- Use a Variety of Testimonials – Showcase different types of feedback (product, service, experience).
- Place Testimonials Strategically – Add them to landing pages, checkout pages, and service pages.
-
10. How to Get More Testimonials from Your Customers
One of the more difficult parts of managing your business’ reputation is getting testimonials. The Vocalreferences plugin can help you with that. In the Plugin Menu there is a Menu Item titled “Capture URL’s”, as seen below. When you click on this menu item a page will open up with a bunch of URL’s. Each URL corresponds with a link to a URL with the Add Testimonial form in a different language. These url’s and forms are specific for your company. You can copy and paste these URL’s anywhere to make it easy for your customers to add testimonials. When a user clicks on the link, the associated add form will appear. These forms are already to use in any environment, mobile or web.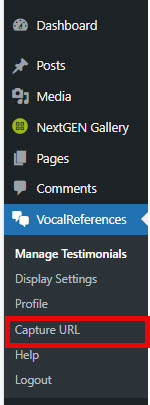
Conclusion
By following this guide, you can effectively use the A+ Testimonial App to enhance your website’s credibility and engage visitors. Regularly updating testimonials and customizing their display will ensure they remain a valuable part of your website’s marketing strategy.