Manage The Add Testimonial Form
We are going to walk you through how you can edit the Add Testimonial Form for your own use.
To start:
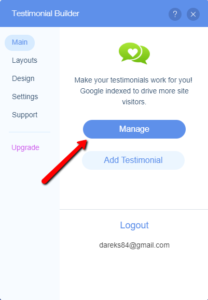
- Login to the Testimonial Builder App Settings.
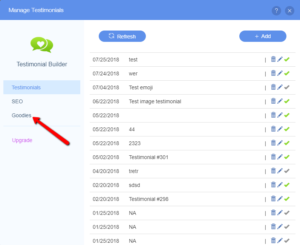
- Goto Goodies
- Select the Manage Add Testimonial Form option

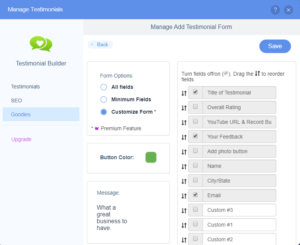
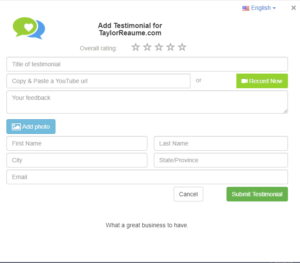
There are 3 options to the Manage Testimonial Form: All Fields, Minimum Fields and Customize Fields.
- The All Fields option will display all the non custom fields available for the Add Testimonial Form.
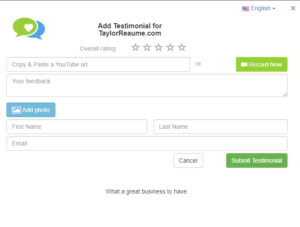
- The Minimum Fields option will display a small select group of fields and
- The Customize Form option allows you to specify the fields and their order.
This last option – Customize Form is only available to upgraded users.
Custom Fields
As part of the Customize Form option you can make use of up to 3 custom fields to request and collect data from the user. This is in addition to the available system fields.
Other Options
In addition to the fields that are displayed you also have the option to specify the color of the Submit Testimonial button and to add your own personal message to the bottom of the form.
Saving Your Changes
Once you have completed making your changes to the Add Testimonial Form, click the Save button. As soon as your changes have been saved your form selections will be live.
Examples of the Add Testimonial Forms